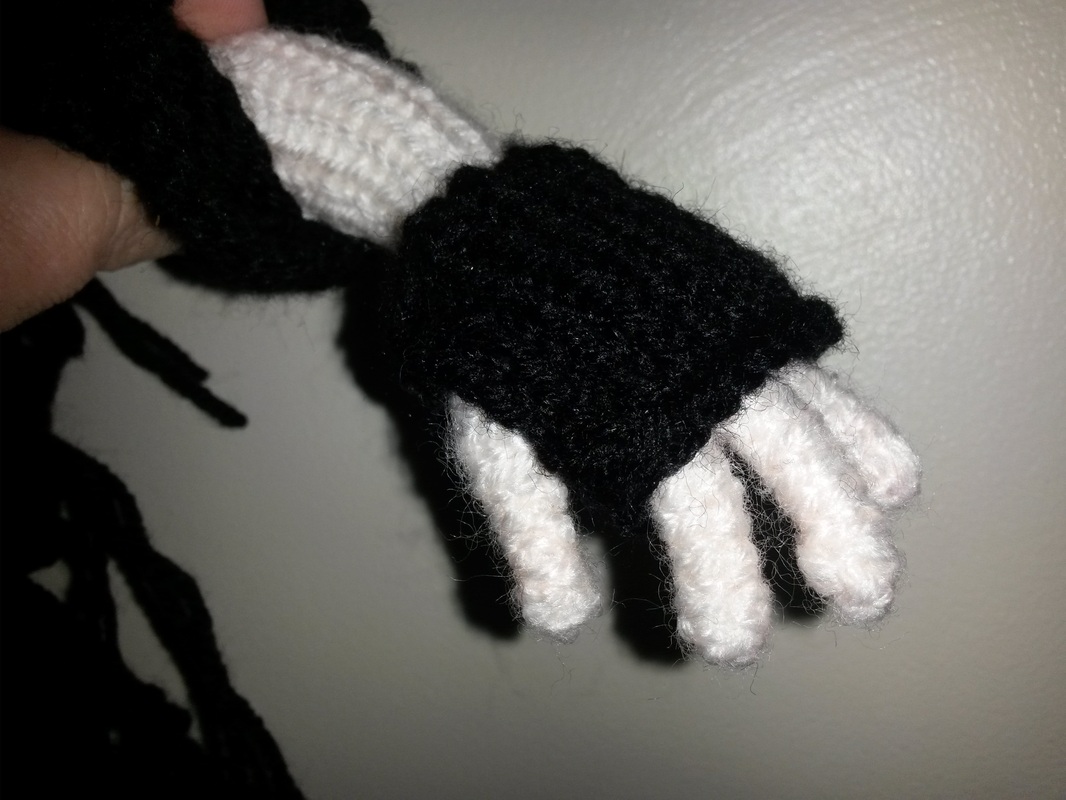
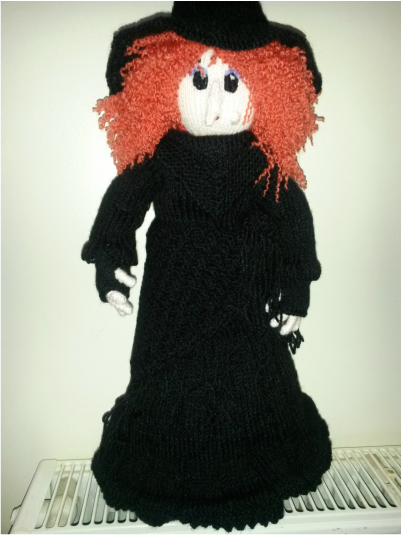
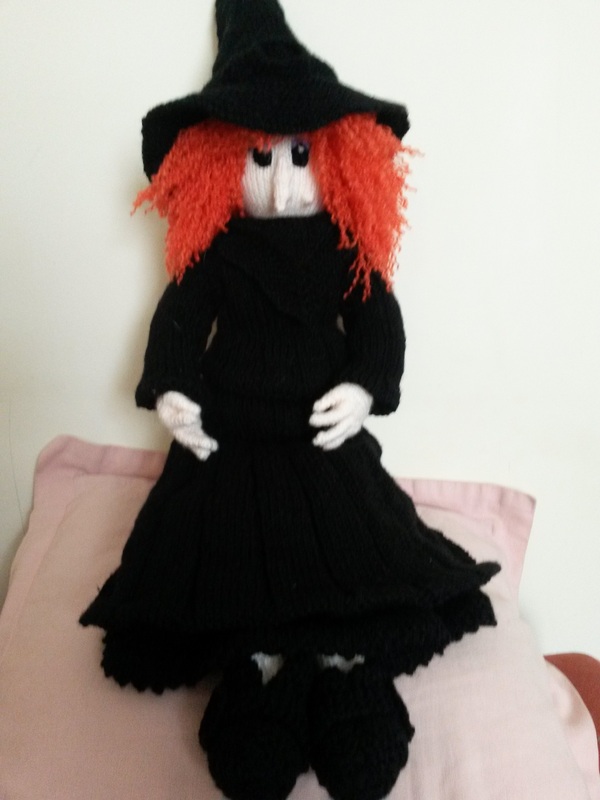
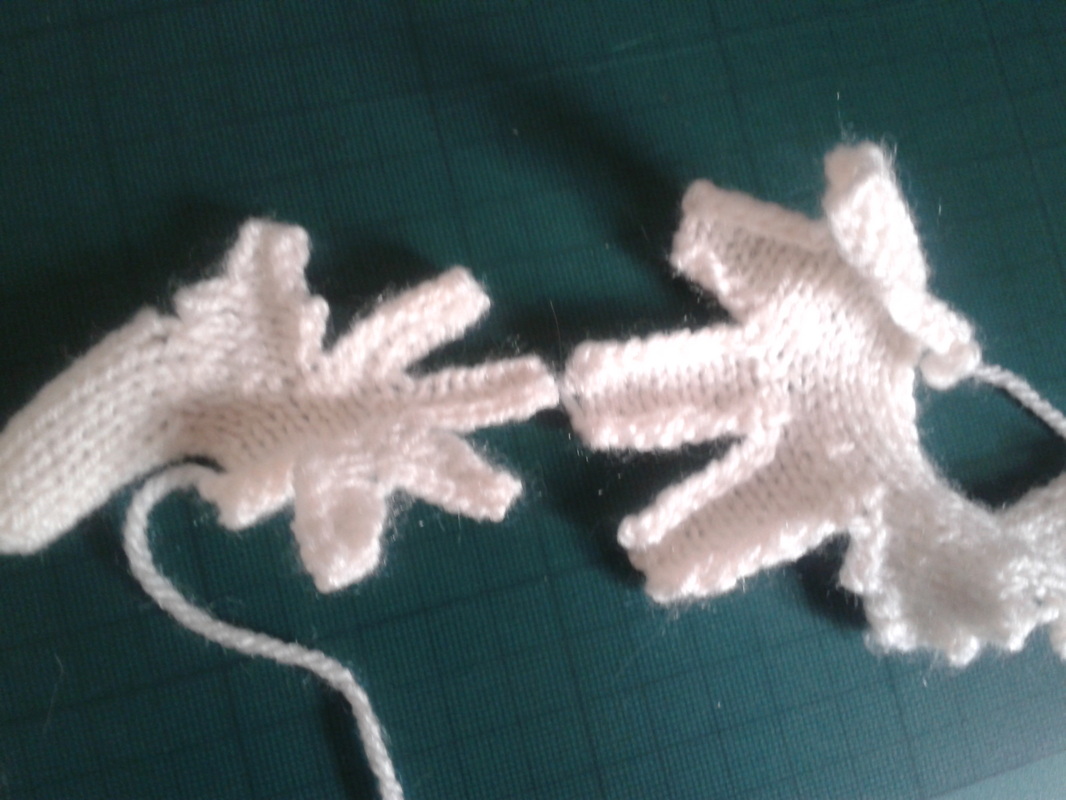
If there is one thing you can say about Elizabeth, it's she'll never be cold. The shawl is a very simple yarn over/ K2tog pattern which gives a nice crocheted effect. The fingerless mittens were too small when knitted with 2.25mm needles, so I used 3mm. This might have something to do with my hand modifications The only things left to do now are her satchel, wand and broomstick. All cast on and ready to go. |
0 Comments
I have flattened out the brim of the hat - I applied some steam from my iron and left it to cool and dry on a flat surface.
Next, the shawl. All cast on and ready to go.
From top to toes - shoes next.
All cast on and ready to go Elizabeth now has her blouse and top skirt. There were no particular problems with the patterns.
I would suggest doing as I did, marking the ends of rows in the turn-fests of rows 47 and 48. An unusual stitch which cropped up was the use of KRPR (Knit, Return to LH needle, Pass next stitch over, Return to RH needle) as a better right-leaning decrease match to SKP than a simple K2tog. This is interesting as most people ponder over matching the left-leaning decreases rather than worry about right-leaning ones. But the hems!!! The hems!! The sleeves, the top and the skirt are all hemmed. This makes a pretty shape, but sometimes seemed a bit hem-mad. A tip - when knitting with black yarn, save the making up until daylight hours. Knit something else in the meantime, if need be. This saves the time of having to unpick a seam and do it again once you've seen it in the light! Now what would a witch be without her hat? So that is the next item on the agenda. All cast on and ready to go. The underskirt is in a straight forward stocking stitch with an interesting detailed hem using yarn over holes. The hem is turned up inside to produce the picot hem. This also has the added advantage of discouraging the skirt from rolling up. There were surprisingly few problems with the pattern; a typo on row 11 and an issue with row 76 (the same one I had with the pants). It has been so long since I knitted with 4mm needles that they felt like using tree trunks at first! These dolls have been mostly knitted with 3mm and Shetland Lace uses 3mm. The next time I shall be using 4mm will be for the shawl (not a Shetland Lace one though). But now for the blouse. All cast on and ready to go.
Now corrections are available from the publisher's website, here, but they are
incomplete. While doing the bottoms, I chose to "(P1, K1) to last st P1" rather than "(K1, P1) to last st K1" as it continued the rib pattern to the very top. Next, her underskirt - and now we are into lots of (rather difficult to photograph) black. Well, here goes. All cast on and ready to go.
I decided that, unlike the pirate, I would start with the face and hair. This is
where I discovered the first mistake in the witch pattern. For the nose, the pattern asks for some SS starting with a knit row, it should be purl. I decided against giving her hairs sticking out from her wart. Her hair was made using the same four-finger loop stitch as the pirate, but after cutting the loops I separated the strands in the yarn - this took a very long time. Now to start on her clothes. All cast on and ready to go. In an earlier post, I mentioned altering the pattern for the hands from that in the book.
This modified version also has the advantage of allowing pipecleaners to be
inserted into the fingers (remember to make them safe by turning down the ends with pliers). The fingers can now be made to hold things like swords and broomsticks. The Pirate's head - nearly the title of the post. The pattern for the scarf had the option of finishing it halfway for a narrower version, but he would have looked rather like Rambo so it wasn't really an option at all. I also dug out some beads and finished his hair with a few beaded strands.
Now he is done.
Time for a cup of tea .... and then to start Elizabeth Witch The book 'Knitted Pirates, Princesses, Witches, Wizards & Fairies with outfits & accessories" by Annette Hefford is available from Amazon. And finally ......... The star of the show - Meet Samuel Crowe: I wasn't happy with the hat as knitted up from the pattern (left), so I devised my own version (right). Instead of knitting and casting off rim reinforcement, I started with a few rows of garter stitch that could be folded over (and conveniently over a ring of pipecleaners). I also made the underside of the brim - the outside of the flaps - the knit side and swapped over for the crown of the hat. I used a non-slanting decrease, the raised stitches of which are a feature (and help in the folding of the tricorn). I also used pipecleaners to strengthen the base of the crown. The pipecleaners give the hat some rigidity and shapeability. There are 6 ridged decreases through the brim and 3 in the crown. The full pattern is below the next progress picture of Samuel. Next to start on the accessories. All cast on and ready to go. Tricorn Hat PatternAbbreviations: 3stdec --- slip 2 stitches knitwise TOGETHER, knit next stitch, pass slipped stitches over 3decP -- purl one stitch, slip 2 stitches knitwise TOGETHER, slip all three stitches back to LH needle, pass slipped stitches over purl stitch, replace purl stitch on RH needle (I know the purl decrease is a bit convoluted but I do not think there is a better way to do it, I couldn't find one) Row 1 K Row 2 K Row 3 K Row 4 K Row 5 K Row 6 K Row 7 P Row 8 (K12 3stdec K11) 6 times Row 9 and alternate rows (11, 13, 15, 17, 19, 21) Purl Row 10 (K11 3stdec K10) 6 times Row 12 (K10 3stdec K9) 6 times Row 14 (K9 3stdec K8) 6 times Row 16 (K8 3stdec K7) 6 times Row 18 (K7 3stdec K6) 6 times Row 20 (K6 3stdec K5) 6 times Row 22 (K5 3stdec K4) 6 times Row 23 - 34 Stocking stitch commencing with a Knit row Row 35 (K9 3stdec K8) 3 times Row 36 and alternate rows (38, 40, 42, 44) Purl Row 37 (K8 3stdes K7) 3 times Row 39 (K7 3stdec K6) 3 times Row 41 (K6 3stdec K5) 3 times Row 43 (K5 3stdec K4) 3 times Row 45 (K4 3stdec K3) 3 times Row 46 (P2 3decP P3) 3 times Row 47 (K2 3stdec K1) 3 times Row 48 (3decP P1) 3 times Break yarn and thread through remaining stitches. To make up: Sew up seam, keeping in mind the knit side is the right side. Sew in pipecleaner ring at base of crown. Turn garter stitch edge over and sew in pipecleaner ring. Mould hat. |