
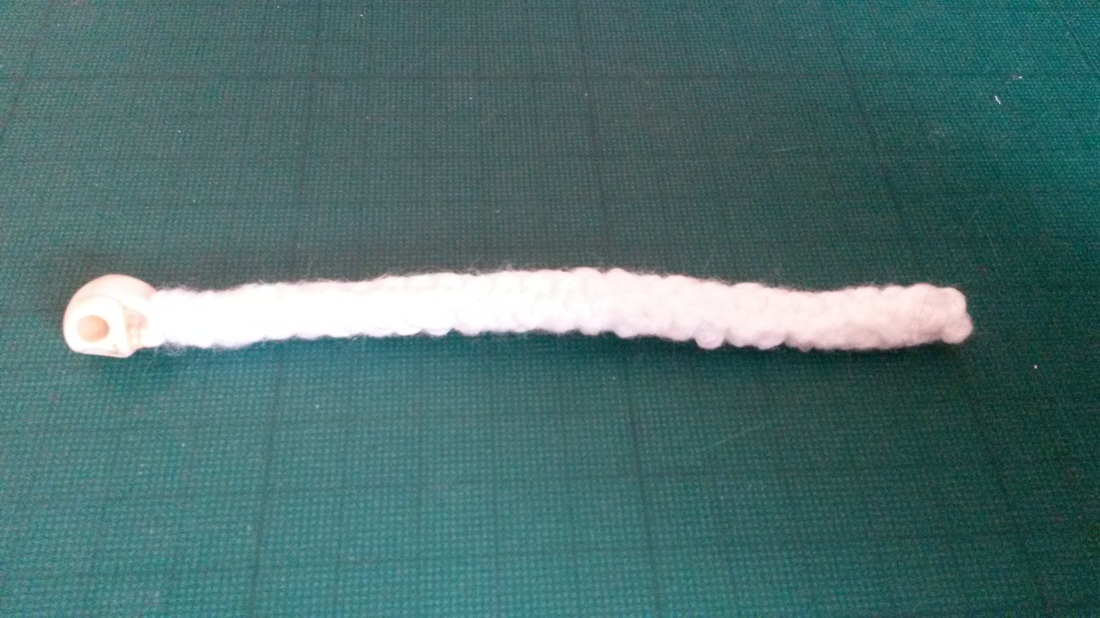
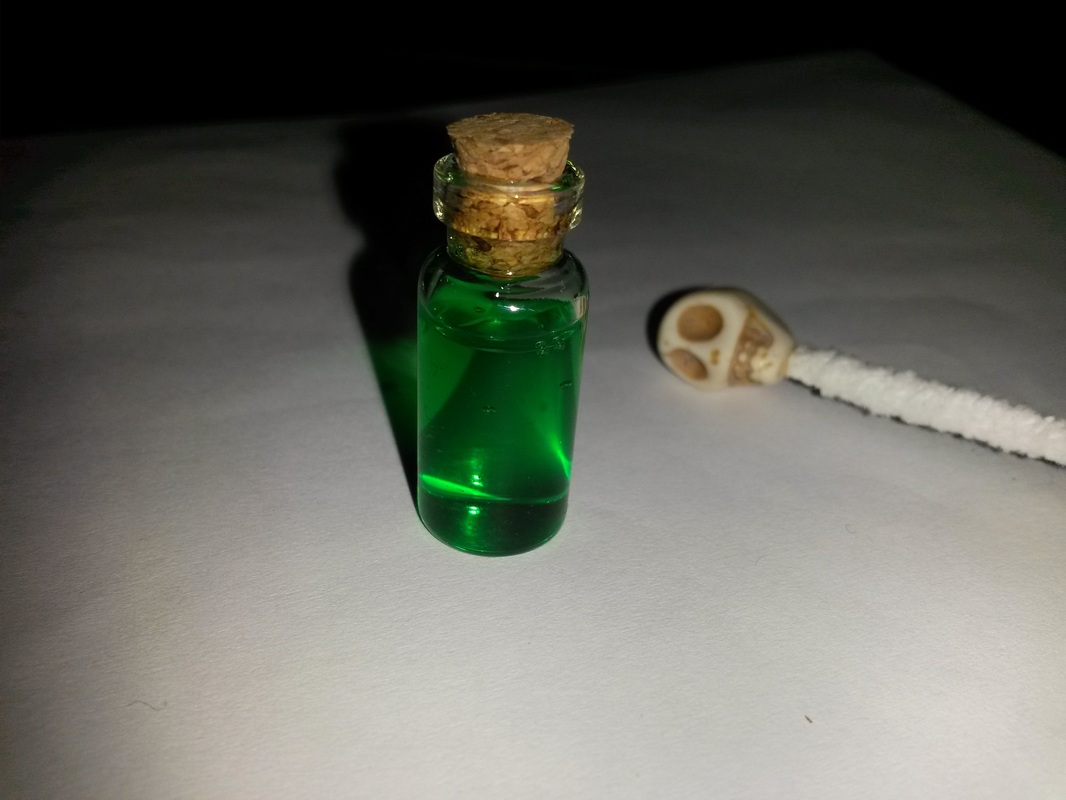
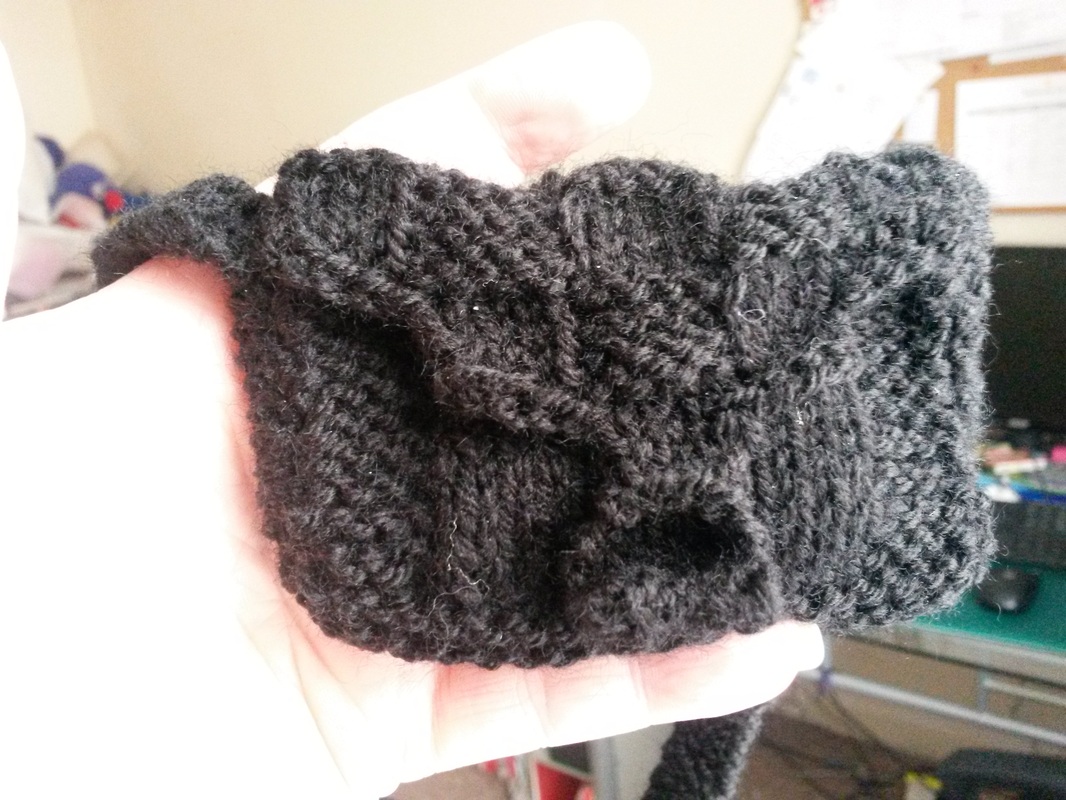
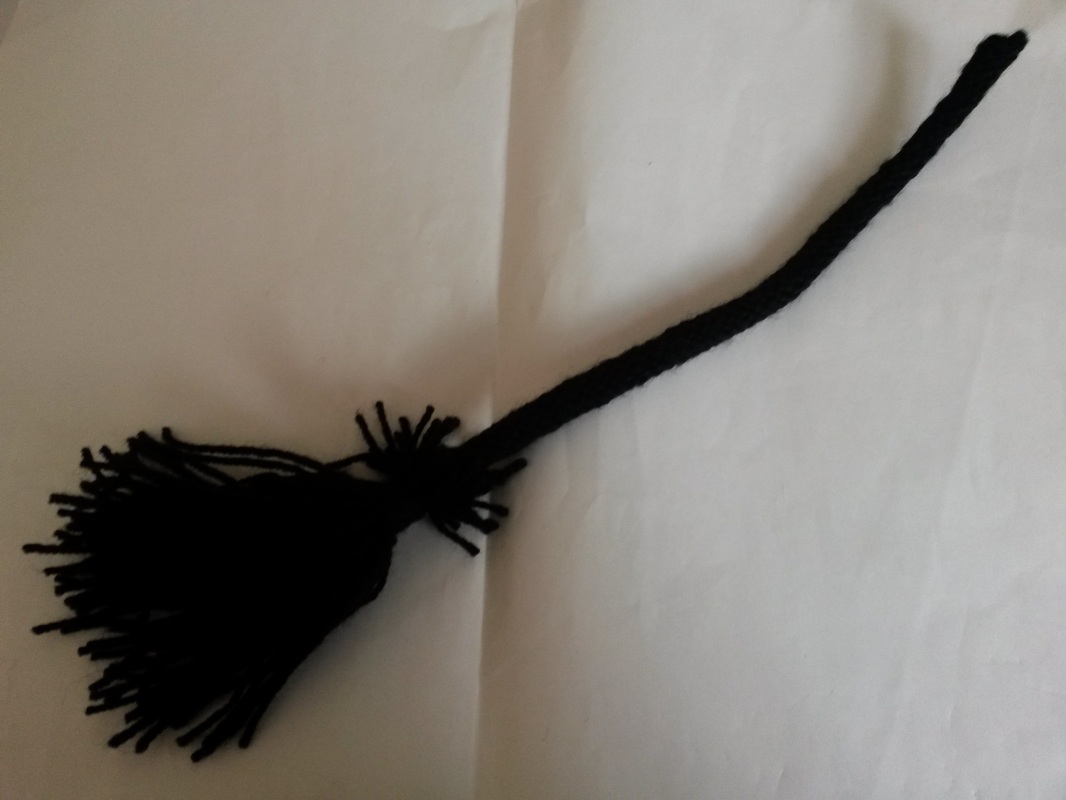
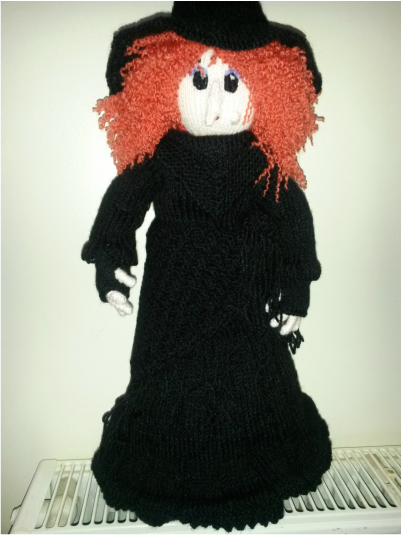
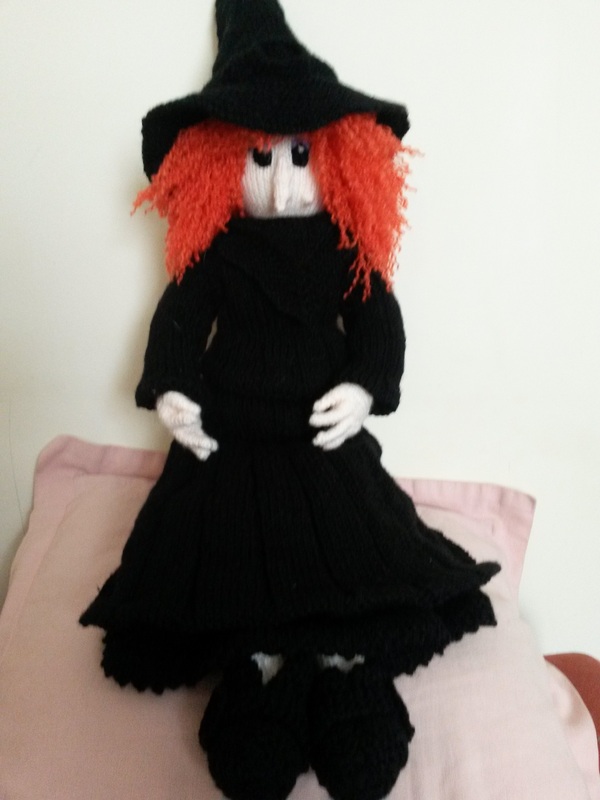
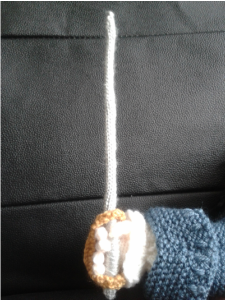
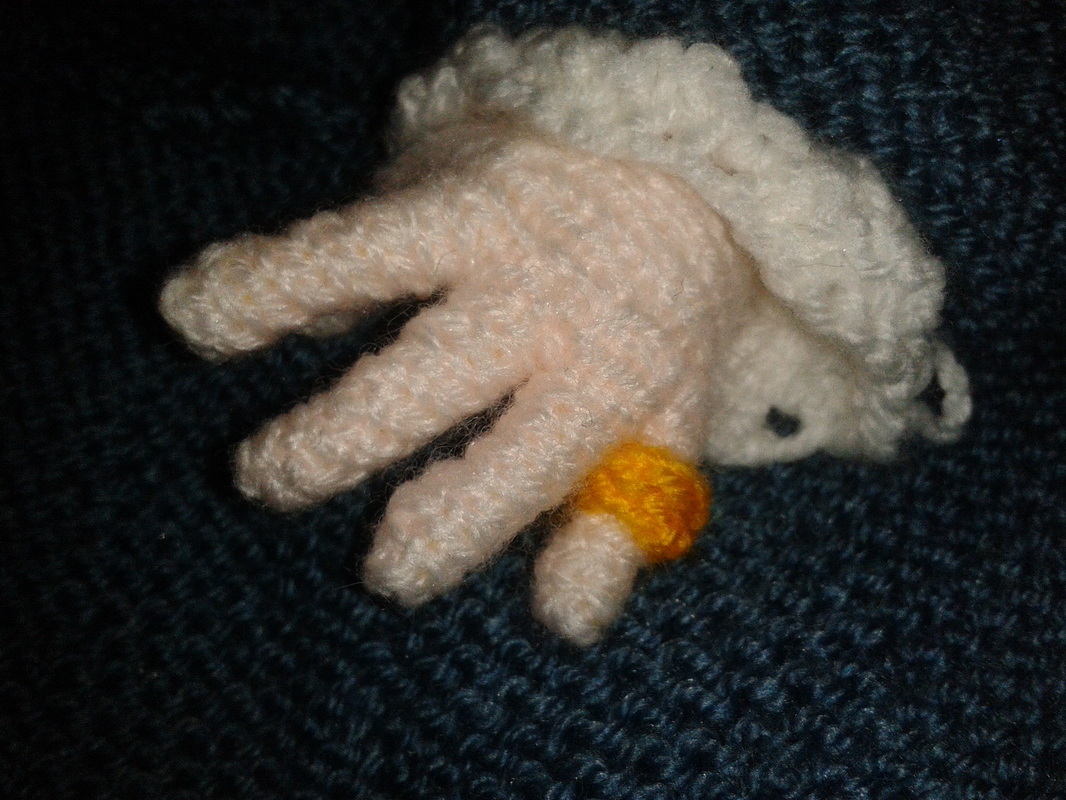
    | The final touches have now been done and thank goodness no more black for a while! To the wand I added a skull bead at one end (I've probably played too much Diablo). I needed to trim the fluff from the pipecleaner to insert the wire. To keep it firmly attached, I used a drop of Pinflair glue gel and left it to set for a few hours. I didn't use the 6 rows of stocking stitch as is the book, it looked too much like a maggot that thick. I went for 3. I also bound the wand near the skull end I've also included a jar of green slime. The green slime is washing-up liquid. It took me a while to realise that washing-up liquid would make rather good slime, possibly as it is the opposite. Elizabeth needs a satchel to keep her ingredients in and this was fairly straightforward. Her broomstick is as simple as you could make it; pipecleaner wrapped in knitting, wool bound to the end. There are a number of sticthes through the binding and the knitting underneath to keep the bristles firmly in place. |
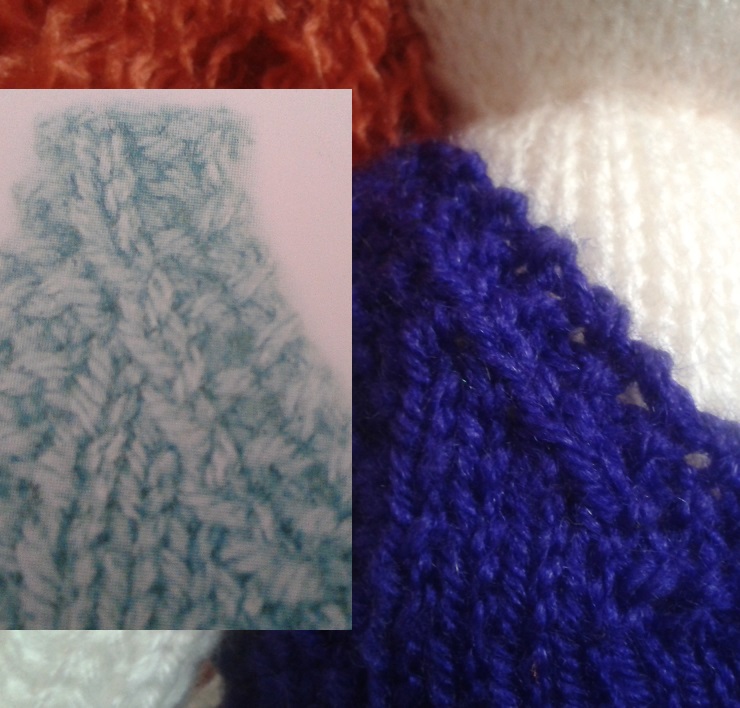
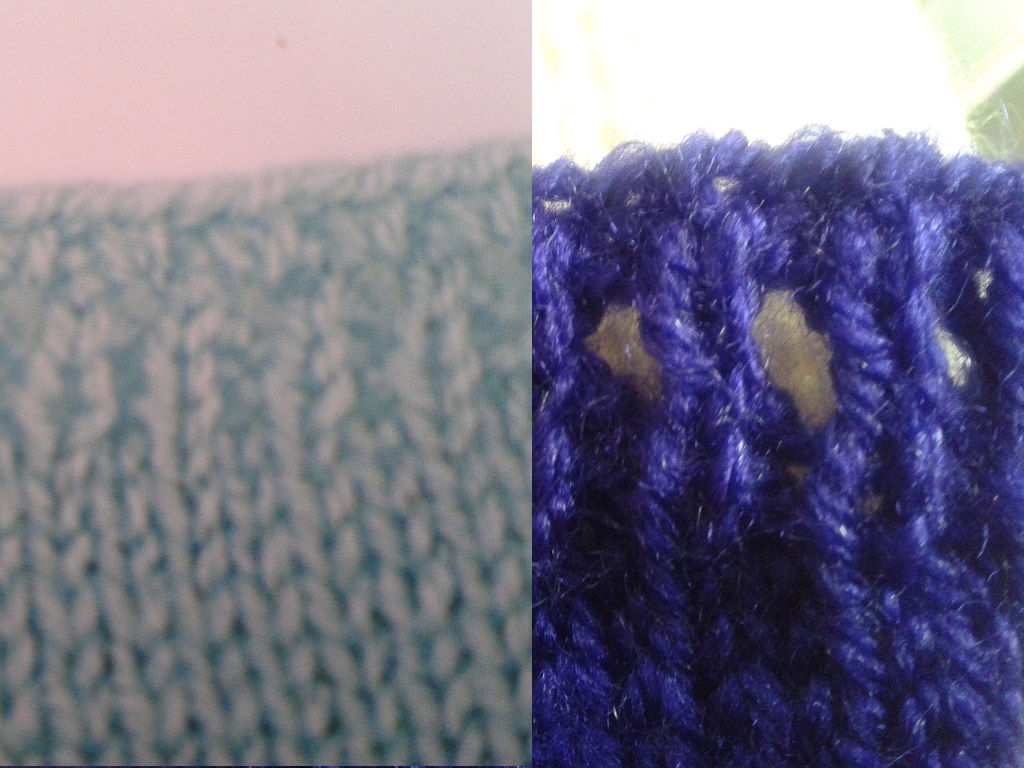
I thought of adding a small square of 'illusion knitting', but rejected that for two reasons. One, the square was much bigger than I had considered. Two, the 'illusion' wasn't as effective as I would have liked. Whether that is my knitting or the nature of illusion knitting itself, I am not sure, it's not something I ever got into.
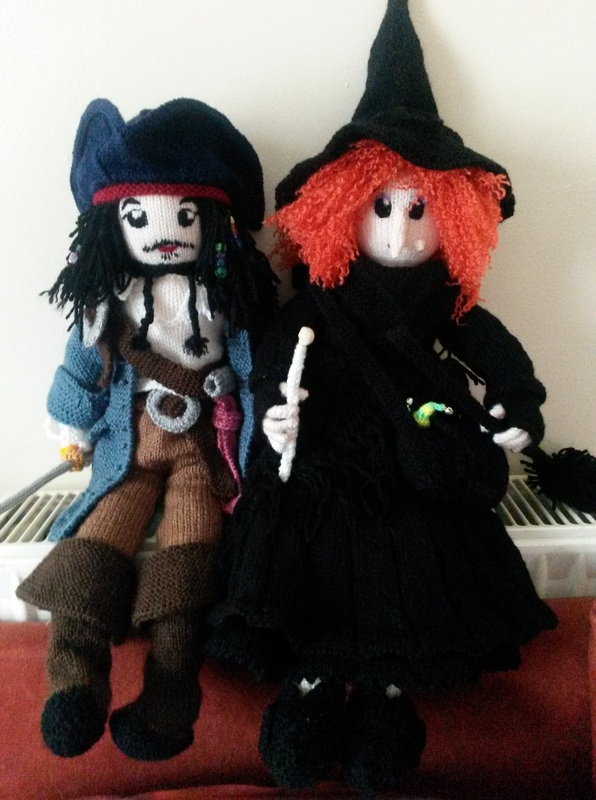
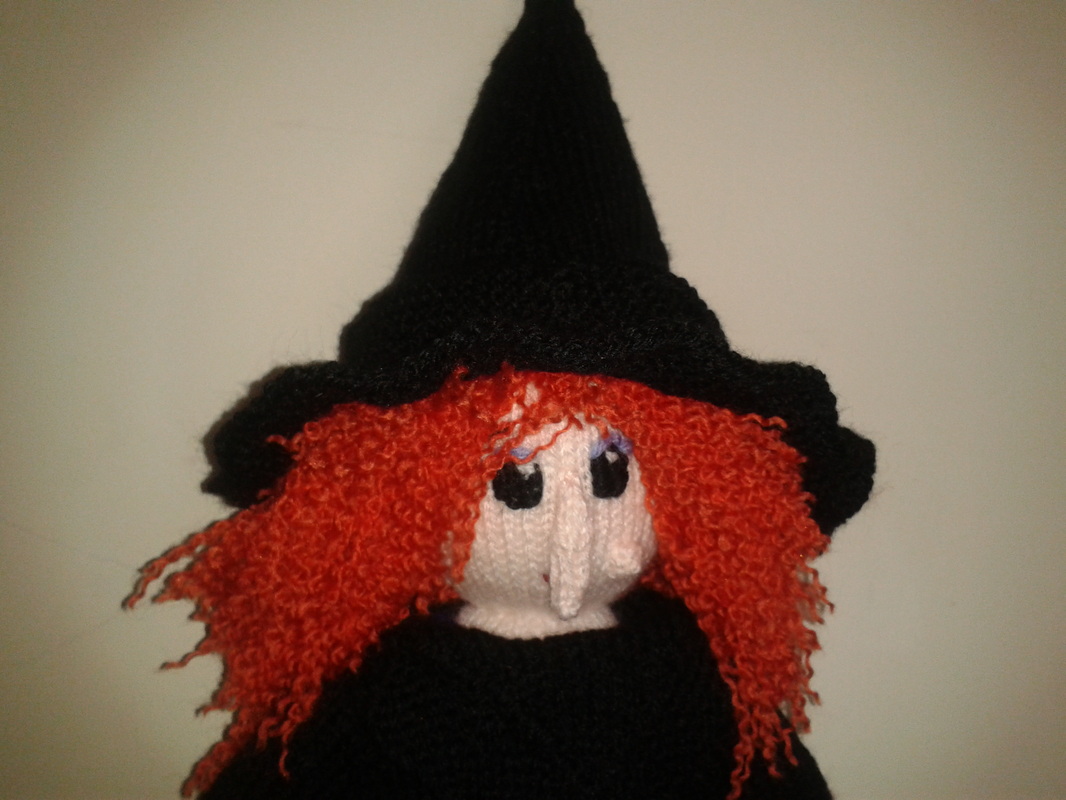
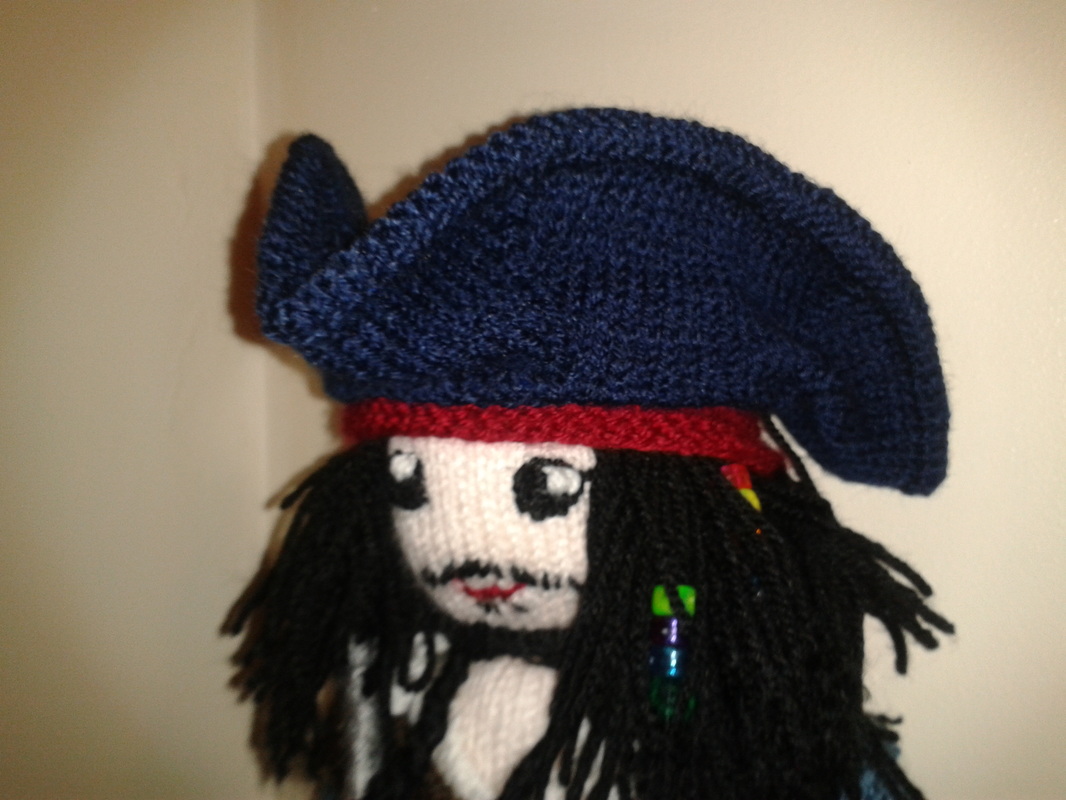
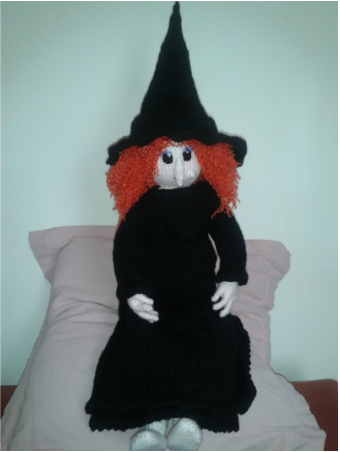
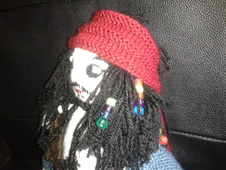
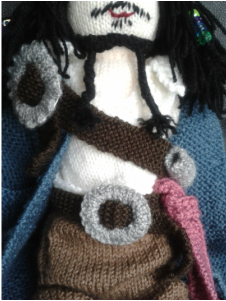
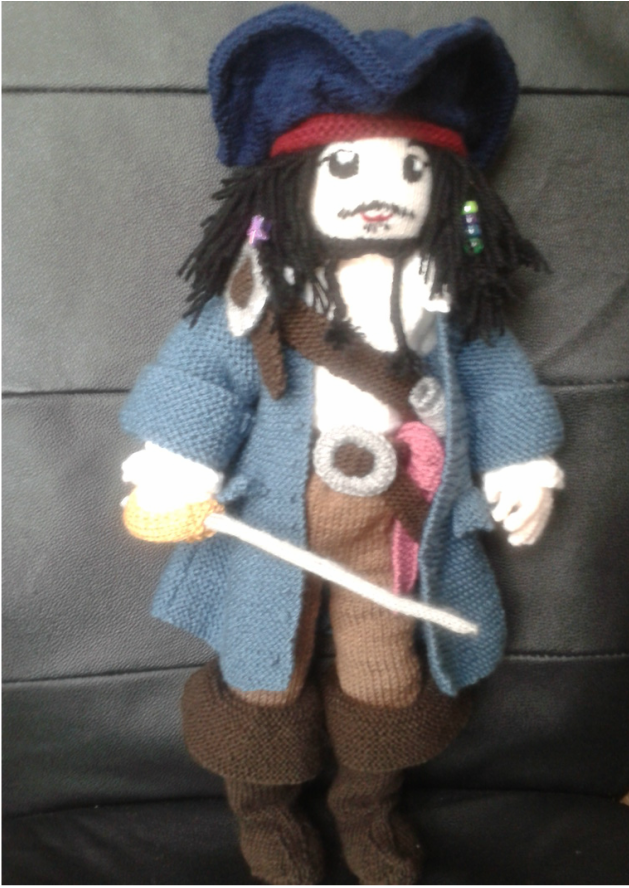
And here they are, the witch and the pirate.
Now for the wizard.
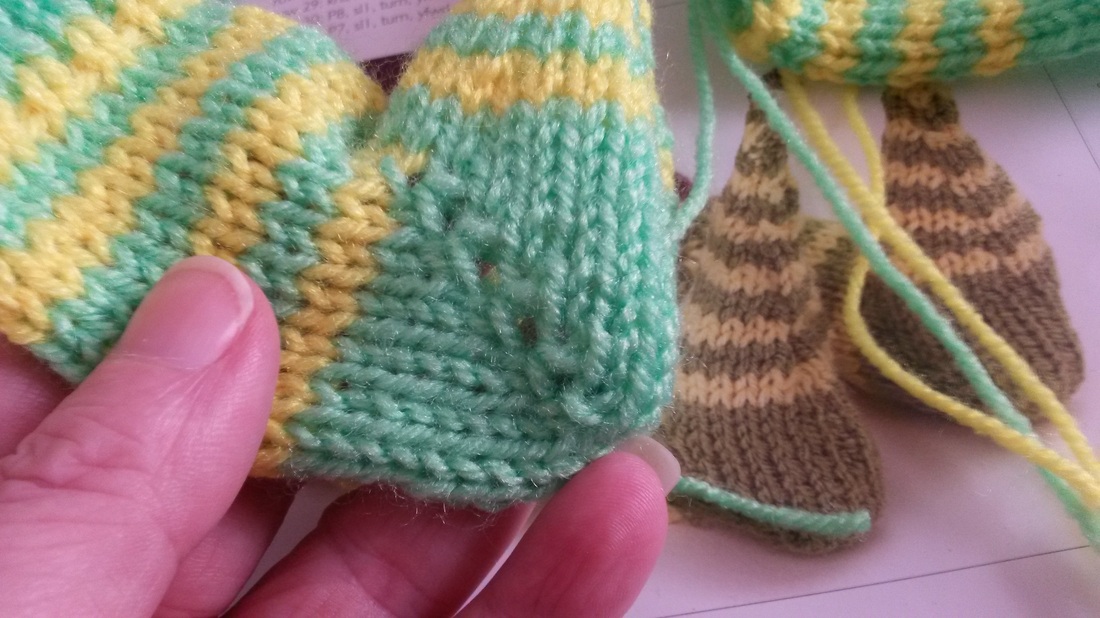
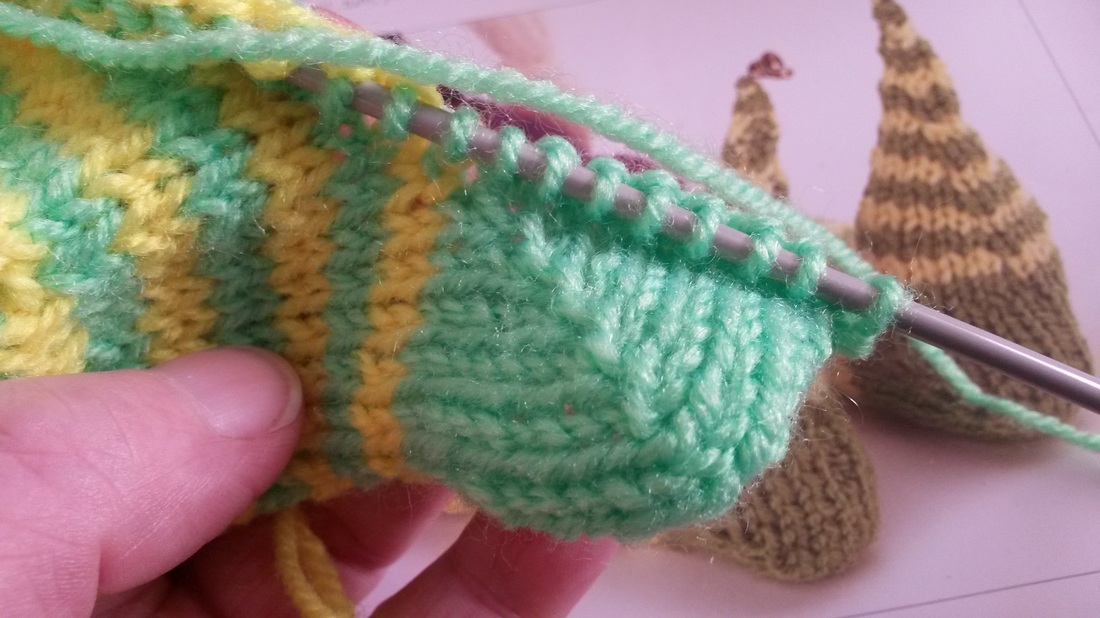
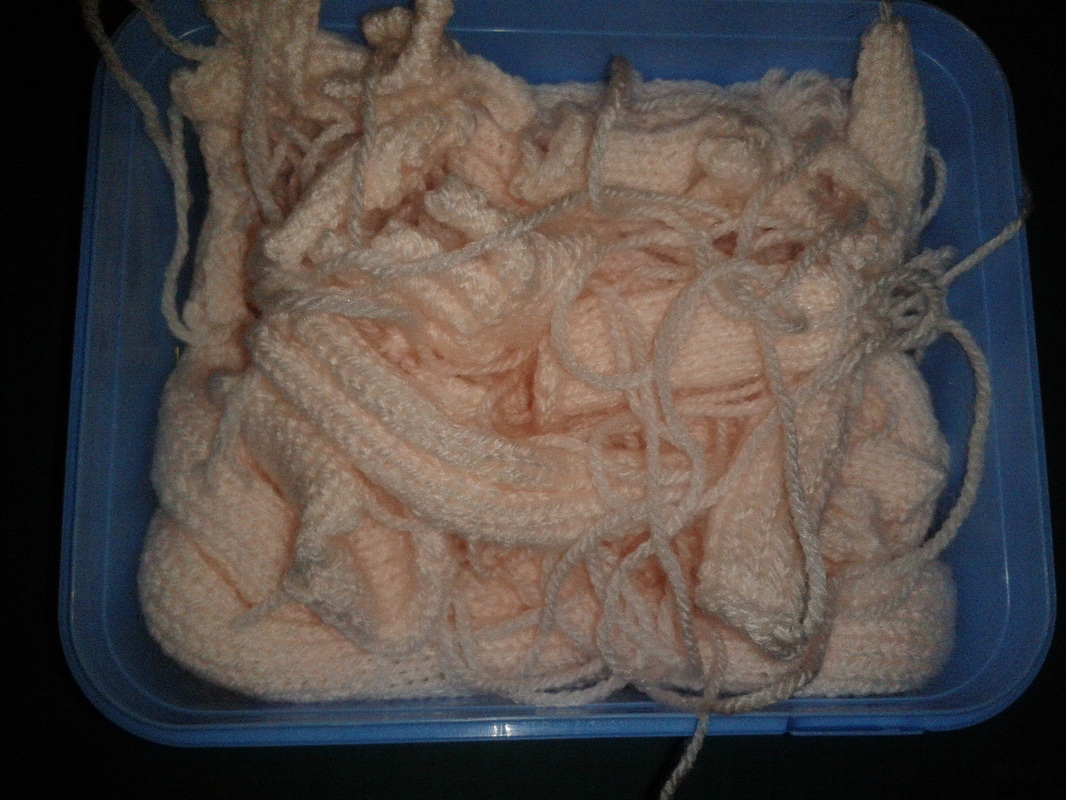
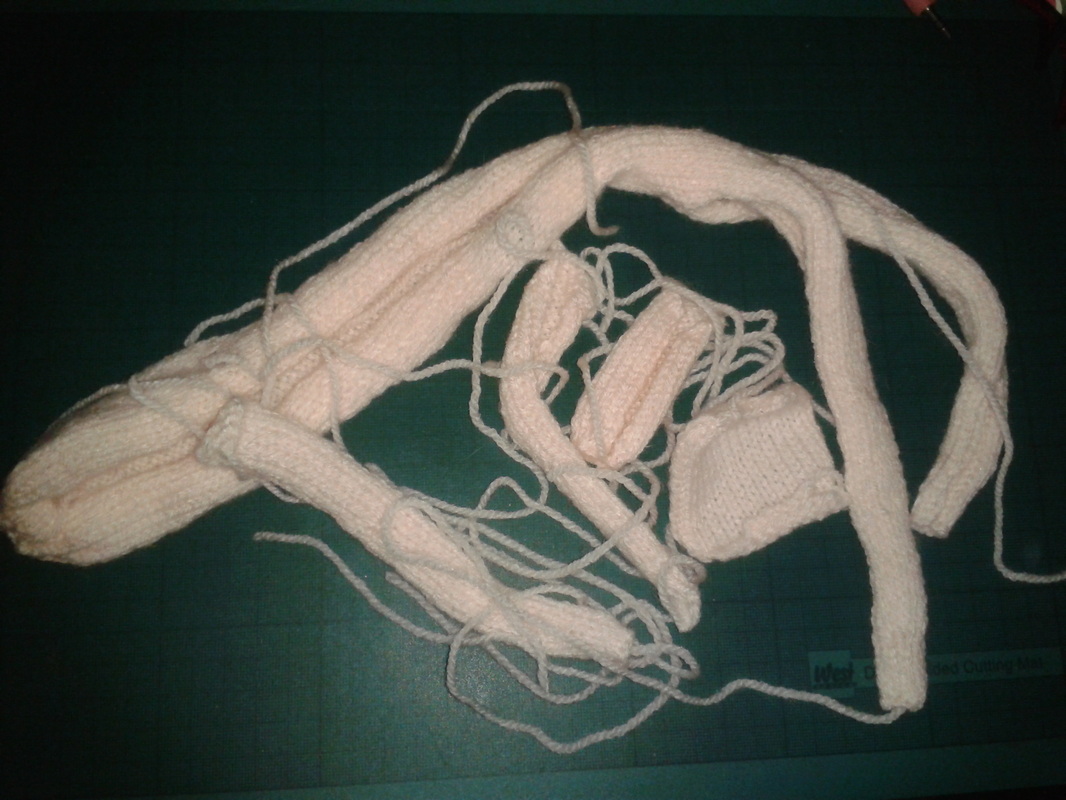
All cast on and ready to go.
And here they are, the witch and the pirate.
Now for the wizard.
All cast on and ready to go.


 RSS Feed
